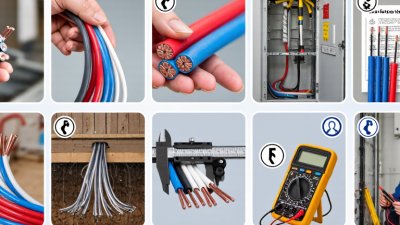
7 Tips for Choosing the Right Alarm Cable?

Choosing the right alarm cable is a practical decision, not a minor purchasing detail. The cable carries signals, power, or both, while working behind walls, ceilings, and control panels. A poor match can create false alarms, weak communication, or difficult maintenance. The problems may remain hidden until the system is urgently needed.

Experienced installers usually examine conductor size, insulation quality, shielding, flexibility, and installation conditions. They also check the cable’s compatibility with the alarm panel, sensors, and connected devices. A cable routed beside power lines may collect unwanted interference. A stiff jacket may crack around tight corners. Small details matter.

This guide shares seven practical tips for selecting alarm cable with greater confidence. It considers signal distance, voltage drop, fire and environmental requirements, and future servicing needs. Product datasheets should support every important choice. Marketing language alone is not enough.

Measure the route carefully.

Even experienced professionals can overlook heat, moisture, or crowded conduits. I have seen tidy installations become troublesome because cable capacity was underestimated. That mistake is easy to make. It is also expensive to correct later. The best choice balances technical performance, installation conditions, verified specifications, and long-term reliability. A cable that works today may still be a poor investment if replacement becomes difficult. This article helps readers ask better questions before ordering, cutting, or installing alarm cable.
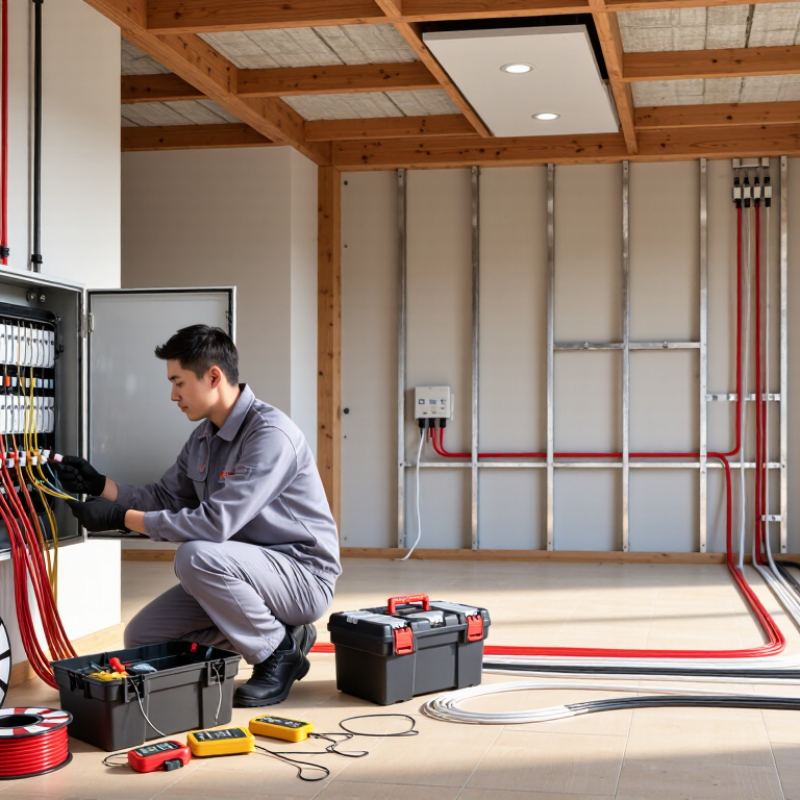
7 Tips for Choosing the Right Alarm Cable?

Understanding Alarm Cable Types and Core Specifications

7 Tips for Choosing the Right Alarm Cable

Choosing alarm cable starts with identifying the system. Intrusion alarms, fire alarms, and access controls may require different cable constructions. Check the number of cores before ordering. A two-core cable may power a simple sensor, while a multi-core cable supports power, signals, and tamper circuits. Solid conductors suit fixed runs. Stranded conductors handle repeated movement better. Shielded cable can reduce electrical noise near motors or lighting circuits. It is not always necessary, though.

Review the core specifications carefully. Compare conductor size, loop resistance, voltage rating, insulation material, and operating temperature. Higher resistance can weaken signals over long distances. Capacitance also matters in sensitive communication circuits. Check whether the cable includes a drain wire or foil shield. Confirm the fire rating and smoke performance for the installation area. Measure the route, then allow extra length for panels and sensors. Small details matter.

A qualified installer should verify compatibility with the control panel and local installation requirements. Keep alarm cable away from high-voltage wiring where practical. Respect the stated bending radius; sharp corners can damage insulation. Label both ends before closing the wall. Test continuity, insulation, and end-to-end resistance after installation. I have seen neat-looking cable runs fail because one core was left unconnected. That mistake is easy to miss. Leave spare cores when space and budget allow. It may feel unnecessary today. Future repairs often prove otherwise.
Assessing System Requirements and Signal Transmission Needs

7 Tips for Choosing the Right Alarm Cable

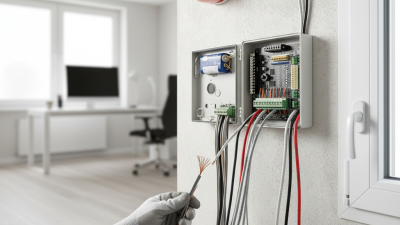
Assessing system requirements should come before comparing cable prices. Measure the alarm panel’s voltage, current, and expected cable length. Confirm whether the circuit carries power, data, or both. Keep signal paths clear. Calculate voltage drop across the full route, including joints and terminals. A longer run may need larger conductors to maintain reliable device operation.

Check conductor size against the equipment specifications, not guesswork. Examine capacitance and resistance because both can weaken fast alarm signals. Choose suitable shielding where motors, lighting, or radio equipment create interference. Consider insulation, temperature range, moisture, and mechanical protection. For exposed areas, a tougher jacket can prevent damage during installation. Fire-performance requirements may also affect cable selection and routing.

I have seen neatly installed cables fail because their electrical limits were never checked. Test continuity, insulation condition, polarity, and end-to-end signal performance before closing walls. Test it twice. Document cable length, termination points, and measured values for future maintenance. Avoid mixing unverified cable types within one circuit, even when they look identical. Some recommendations may change after a site survey; that is normal. A practical review can reveal assumptions that the original design missed.

Choosing Cable Materials for the Installation Environment

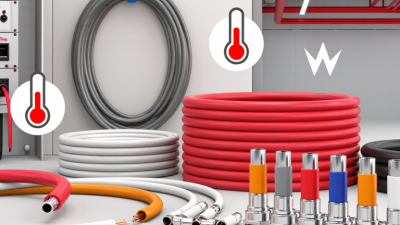
Choosing the right alarm cable starts with the installation environment, not the price tag. PVC insulation suits dry indoor spaces with moderate temperatures. However, it can release dense smoke and corrosive gases during a fire. In occupied buildings, plenum-rated or low-smoke, zero-halogen materials may reduce smoke hazards in air-handling spaces. Check the applicable fire code before selecting them.

Outdoor routes need different protection. Polyethylene jackets resist moisture and sunlight better than standard indoor PVC. Direct-burial cable also needs resistance to soil pressure, insects, and accidental impact. In a plant room, oil-resistant jackets can prevent premature softening. I have seen cable fail because installers treated a damp wall like a dry ceiling. That shortcut is easy to regret.

Electrical noise deserves attention too. Shielded alarm cable can limit interference near motors, elevators, and power conductors. Keep separation from high-voltage wiring, as required by the National Electrical Code, NFPA 70, Article 760. Fire alarm circuits should also follow NFPA 72 pathways and survivability requirements where specified. The National Fire Protection Association reported 1,504,500 U.S. fires and approximately 18.1 billion dollars in property damage during 2022. Cable performance is not a minor detail. Review temperature ratings, smoke characteristics, conductor size, and water exposure together. I sometimes over-specify cable, and that raises costs without improving every installation. A documented site assessment keeps the choice defensible.

Checking Safety Standards, Compatibility, and Cable Durability

Choosing the Right Alarm Cable: Seven Practical Tips

Check the required safety standard before comparing prices. Fire alarm cables may need compliance with NFPA 70, NFPA 72, UL 1424, or IEC 60332, depending on location and system type. NFPA’s Fire Loss in the United States During 2022 report recorded about 1.5 million fires and 3,790 civilian fire deaths. Reliable signaling matters when seconds count. Confirm markings, fire ratings, smoke performance, and installation rules with the local authority.

Match the cable to the alarm panel, detectors, notification devices, and operating voltage. Check conductor size and calculate voltage drop across the full cable route. Shielded cable can reduce electrical interference, but grounding it incorrectly may create trouble. Verify polarity, terminal capacity, bend radius, and connector compatibility. Keep it simple. Inspect the jacket for temperature, moisture, abrasion, and ultraviolet ratings. A cable crossing a hot ceiling or sharp metal edge needs more protection than one in a clean indoor conduit. I have seen installations fail after careless pulling, not poor design.

Consider fire-resistance duration where circuit survivability is required. Review the manufacturer’s test documentation, batch markings, and traceable certification. Do not rely on a familiar color or a low price. Check the cable’s tensile strength and flexibility before installation. Leave practical service slack, but avoid crowded loops. NFPA 72 emphasizes inspection, testing, and maintenance, so choose cable that remains accessible and identifiable. My own weak point is assuming compatibility too early; a datasheet can look convincing until field testing exposes noise, heat, or unexpected voltage loss.

7 Tips for Choosing the Right Alarm Cable

Check safety standards, system compatibility, conductor resistance, shielding, jacket material, environmental rating, and cable durability before installation.

The chart shows typical maximum DC resistance values at 20°C for Class 5 copper conductors, based on IEC 60228 reference values. Larger conductors generally have lower resistance, which helps reduce voltage drop on longer low-voltage alarm circuits. Always confirm the required fire, security, CPR, and local installation standards for the specific application.

Selection Checklist

  1. Verify applicable safety and fire-performance standards.
  2. Match the conductor size to circuit length, current, and voltage-drop limits.
  3. Confirm compatibility with the alarm panel, detectors, and terminals.
  4. Choose shielding when electromagnetic interference may affect signal quality.
  5. Select a jacket suitable for indoor, outdoor, damp, or plenum environments.
  6. Check temperature, UV, moisture, and mechanical-resistance requirements.
  7. Use clearly identified, tested, and properly installed cable for long-term reliability.

Planning Installation, Testing, and Long-Term Maintenance

7 Tips for Choosing the Right Alarm Cable

Planning installation carefully prevents many alarm cable failures. Choose a cable with suitable conductor size, insulation, temperature range, and fire performance for the site. Check the technical datasheet and applicable local safety codes. Map every route before drilling. Avoid sharp bends, damp cavities, heat sources, and strong power cables. Plan for access. Leave a small service loop near panels and devices, but avoid loose coils that create confusion. My early installations sometimes lacked enough spare length, making later repairs unnecessarily difficult.

During installation, use clean, secure terminations and match each conductor to the approved connection method. Label both ends clearly, especially where several zones enter one cabinet. Keep cables supported without crushing the insulation. Test before closure. A qualified technician should check continuity, polarity, insulation condition, and signal resistance where required. Record the readings, cable routes, and test date. Photographs behind walls can save hours during future servicing. One overlooked detail can become a repeated fault.

Long-term maintenance needs more than a yearly visual check. Inspect exposed sections for moisture, abrasion, loose clips, pests, or accidental construction damage. Retest after renovations, device replacements, or unexplained alarms. Keep a simple service log with measured values, not only comments such as “working.” I once trusted an old test note and missed gradual resistance changes. That was a useful correction. Replace damaged cable properly instead of hiding a joint behind finished surfaces. A neat repair today may prevent a difficult investigation later.

7 Tips for Choosing the Right Alarm Cable? - Planning Installation, Testing, and Long-Term Maintenance

Tip Selection Dimension What to Plan or Check Practical Cable Requirement Testing and Maintenance Action
1 Match the cable to the alarm system Confirm the system voltage, maximum loop current, signaling method, and manufacturer installation requirements before ordering cable. Use a cable with conductor resistance and insulation ratings suitable for the circuit. Low-voltage alarm cable must not be assumed suitable for mains-voltage wiring. Measure continuity and verify correct polarity or loop wiring before connecting powered equipment.
2 Calculate conductor size and voltage drop Estimate the longest cable route, total conductor length, connected-device load, and any standby battery operating conditions. Select a conductor size that keeps voltage at the farthest device within the alarm equipment specification. Longer runs and higher loads generally require larger conductors. Check end-of-line voltage under normal and alarm conditions, and record readings as a baseline for future service.
3 Choose suitable insulation and fire performance Review the building code, fire-alarm rules, plenum or riser requirements, temperature range, moisture exposure, and installation environment. Use cable with a jacket and fire-performance classification accepted for the location. Do not install cable in wet, outdoor, plenum, or high-temperature areas unless its rating permits that use. Inspect the jacket for cracking, water ingress, heat damage, or abrasion during scheduled maintenance.
4 Control electromagnetic interference Identify nearby motors, transformers, fluorescent lighting, variable-speed drives, radio equipment, and power cables that may introduce noise. Use twisted pairs where signaling performance benefits from noise rejection, and use screened or shielded construction only when the system design specifies proper shield termination. Check for nuisance alarms, communication errors, or unstable readings after nearby electrical equipment is energized.
5 Plan routing, separation, and mechanical protection Map the route, access points, bends, penetrations, fire-stopping locations, and separation from high-voltage or high-current circuits. Avoid sharp bends, excessive pulling tension, compression, and unsupported spans. Use conduit, trunking, or protective sleeves where physical damage is possible. Inspect supports, glands, penetrations, and fire stops. Confirm that cable labels remain readable at both ends and at major junctions.
6 Verify installation with documented tests Test before final connection and again after devices, end-of-line components, and control equipment are installed. Use the test method required for the circuit. Typical checks include continuity, short-circuit detection, insulation condition where permitted, polarity, resistance, and functional operation. Document test date, circuit identification, measured values, equipment status, and corrective actions. Avoid insulation-resistance testing on connected electronics unless permitted by the equipment instructions.
7 Plan for long-term serviceability Allow spare capacity where practical, preserve cable records, and identify routes that may be expanded or repaired in the future. Use durable labels, maintain bend radius, leave appropriate service slack, and keep cables accessible without compromising fire separation or protection. Carry out periodic visual inspection and functional testing according to local regulations and the system maintenance schedule. Compare results with the original baseline.

Note: Final cable selection, installation methods, and testing intervals should follow applicable electrical and fire-safety regulations, project specifications, and the alarm-system documentation.